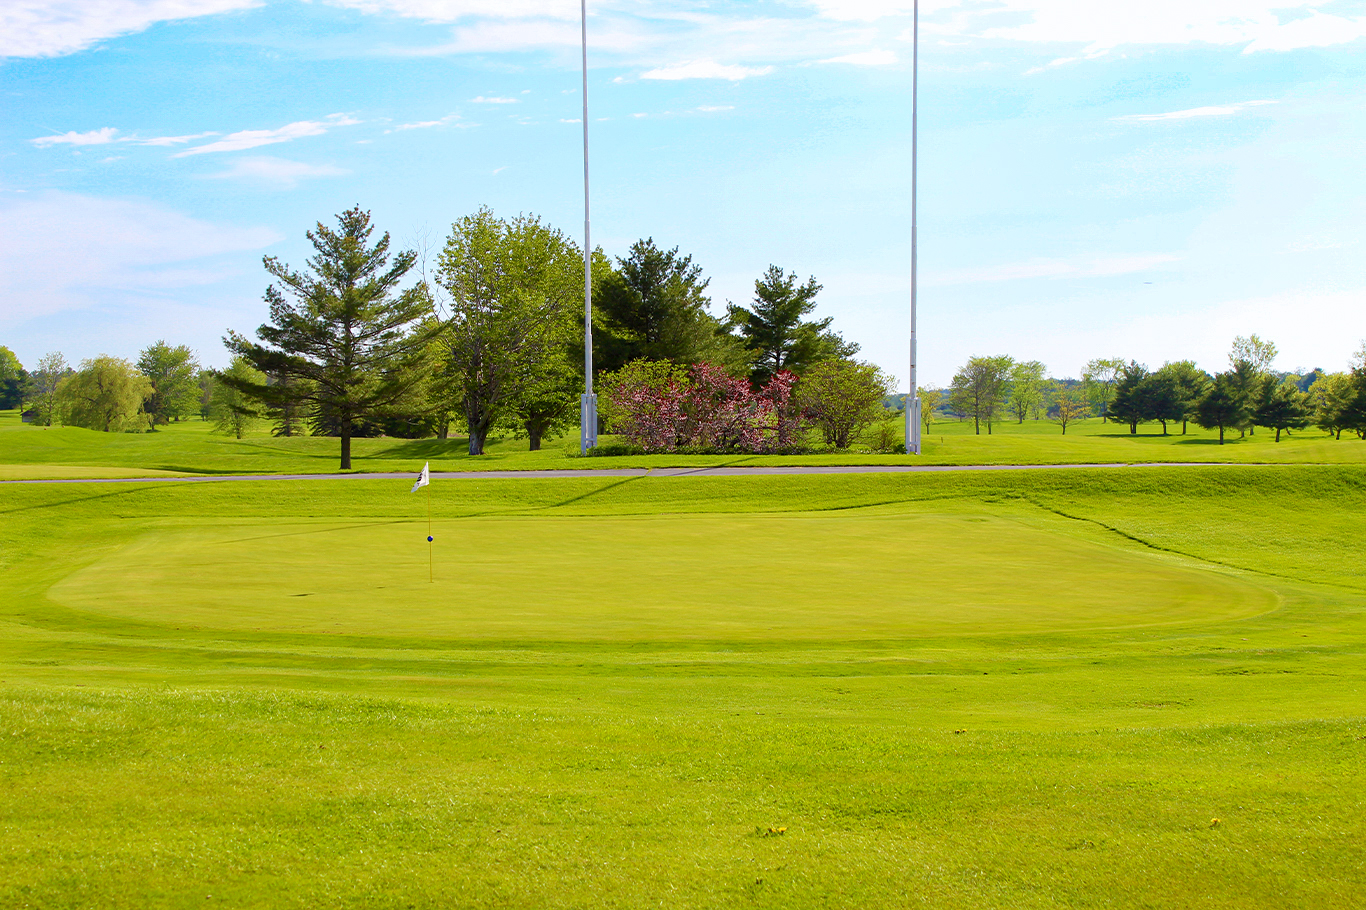
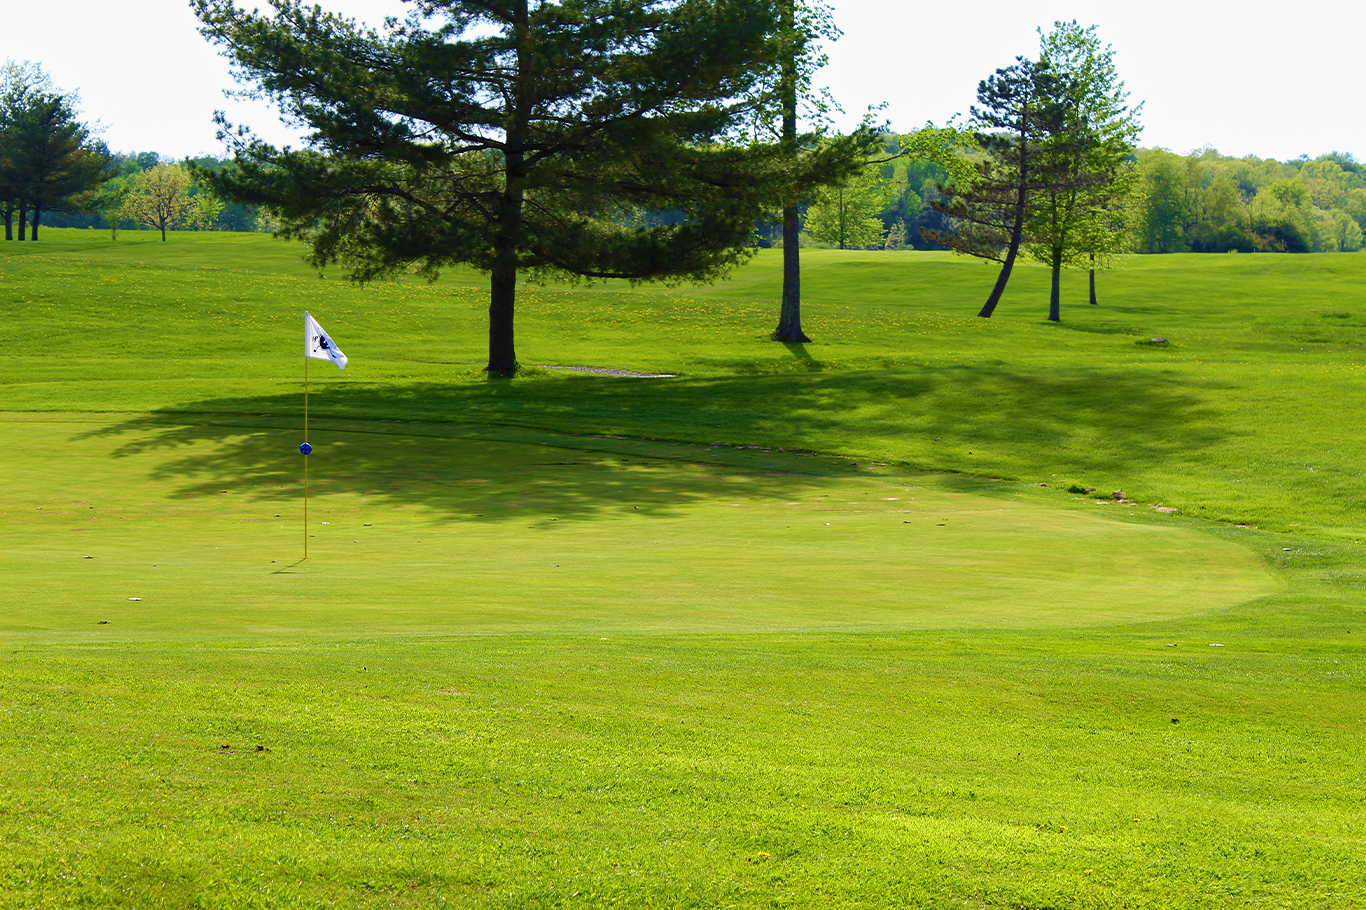
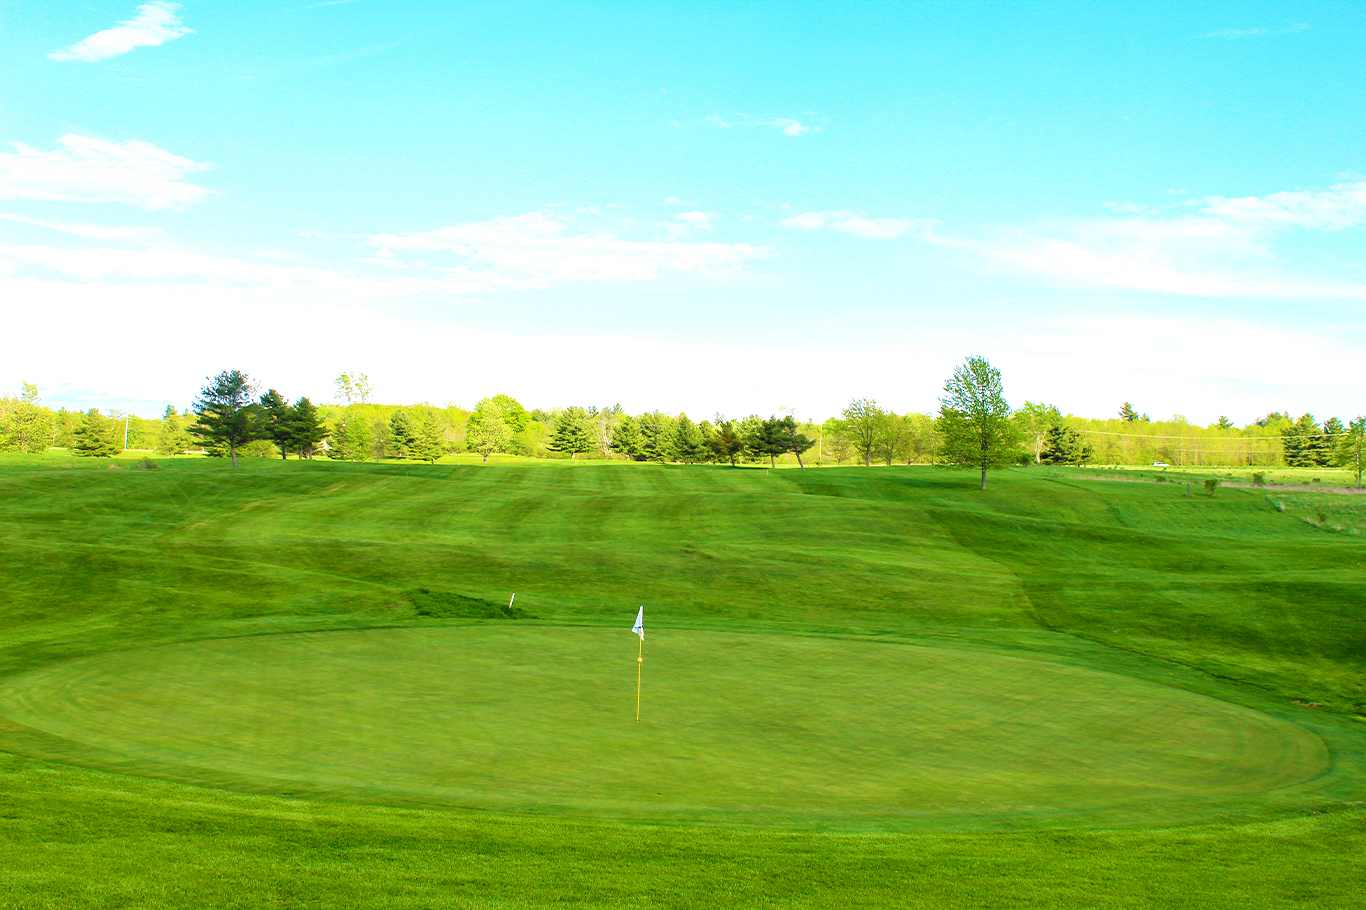
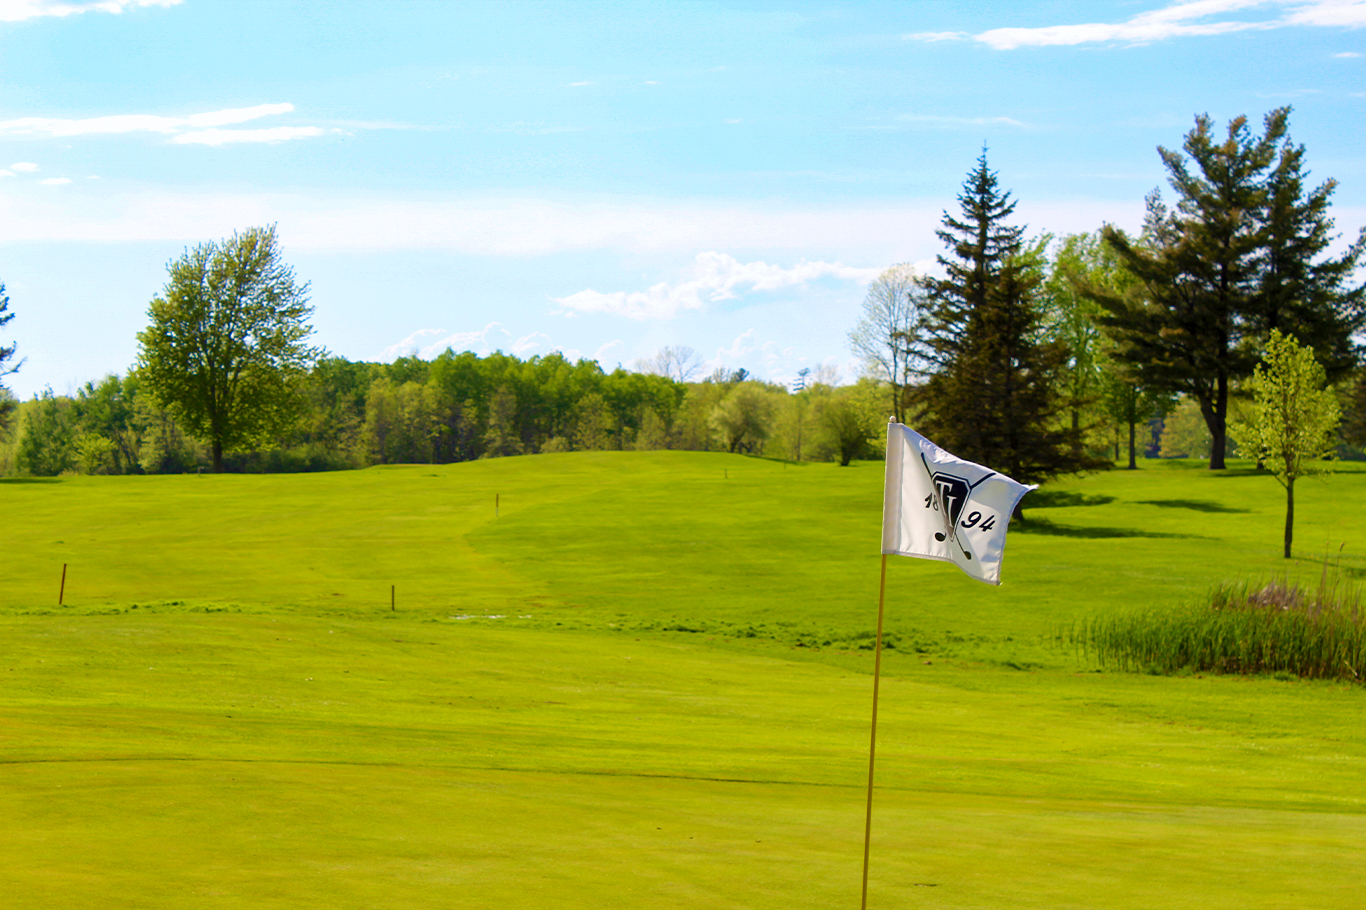
The Old Course
Established in 1894, the Old Course at Thousand Islands Country Club is one of the oldest courses in America. Undulating fairways wind their way through the open front nine into the wooded back nine. A plethora of ponds, countless scenic views, stiff breezes, and an array of wildlife await all those who play the Old Course.
-
Hole #1
This short par 4 offers a challenge from the start; go for the narrow landing zone on a small and sloped green or lay back into the fairway and try to stuff a wedge? Avoid the traps long and right of the green. -
Hole #2
The par 5 second at the Old Course features a sharp dogleg left and a rolling fairway. Longer players can get past the corner and have a look at the green in two, while shorter hitters will have to position their shots down the right side to give themselves a good angle for their layup shot. The approach is slightly downhill to a firm and speedy green which features sharp drop offs long and left. A small trap guards the front right of the green. -
Hole #3
The third hole is a dogleg right par 4 with a pond down the left side and fescue down the right. The approach features a small undulating green that is well protected by a front trap on either side and a sharp drop off the back of the green. Players will want to avoid missing long or left. -
Hole #4
The par 3 fourth features one of the hardest greens on the course. Subtly tiered and sloping from left to right the complex offers few friendly pins. Measuring 180 yards from the white tees and 240 from the blue tees, the fourth hole at the Old Course provides a real challenge early in the round. Players will want to miss short right if possible. Threes on the card often feel like twos. -
Hole #5
The par 5 fifth hole features an uphill tee shot that often plays into the wind. Long hitters may reach the top of the hill and have a chance to get home, but most will have a blind second shot to lay-up. A pond lies waiting 100 yards from the green but is only visible from the top of the hill. The approach shot is often blind as well, for the green sits in the bottom of a large bowl in front of the golf shop and restaurant. Sloping from back to front and right to left, the fifth green often provides its players with perplexing putts. Birdies and pars are well earned here. -
Hole #6
The sixth hole is one of the strongest on the course. A dogleg left par 4 well protected down the left side by a large pond, it also features a rolling and undulating fairway which requires shotmaking on one's approach shot. The green slopes hard from left to right and is protected by a trap in the front right and a hill to the left. The preferred miss is short or right. This is another green with few friendly pin locations. -
Hole #7
The par 3 seventh features a downhill tee shot to a mostly blind target. The green slopes hard from front to back, leaving players who come up short with tricky recovery shots. Like the fourth hole, it typically plays around 180 yards from the white tees and then just under 200 from the blue tees. -
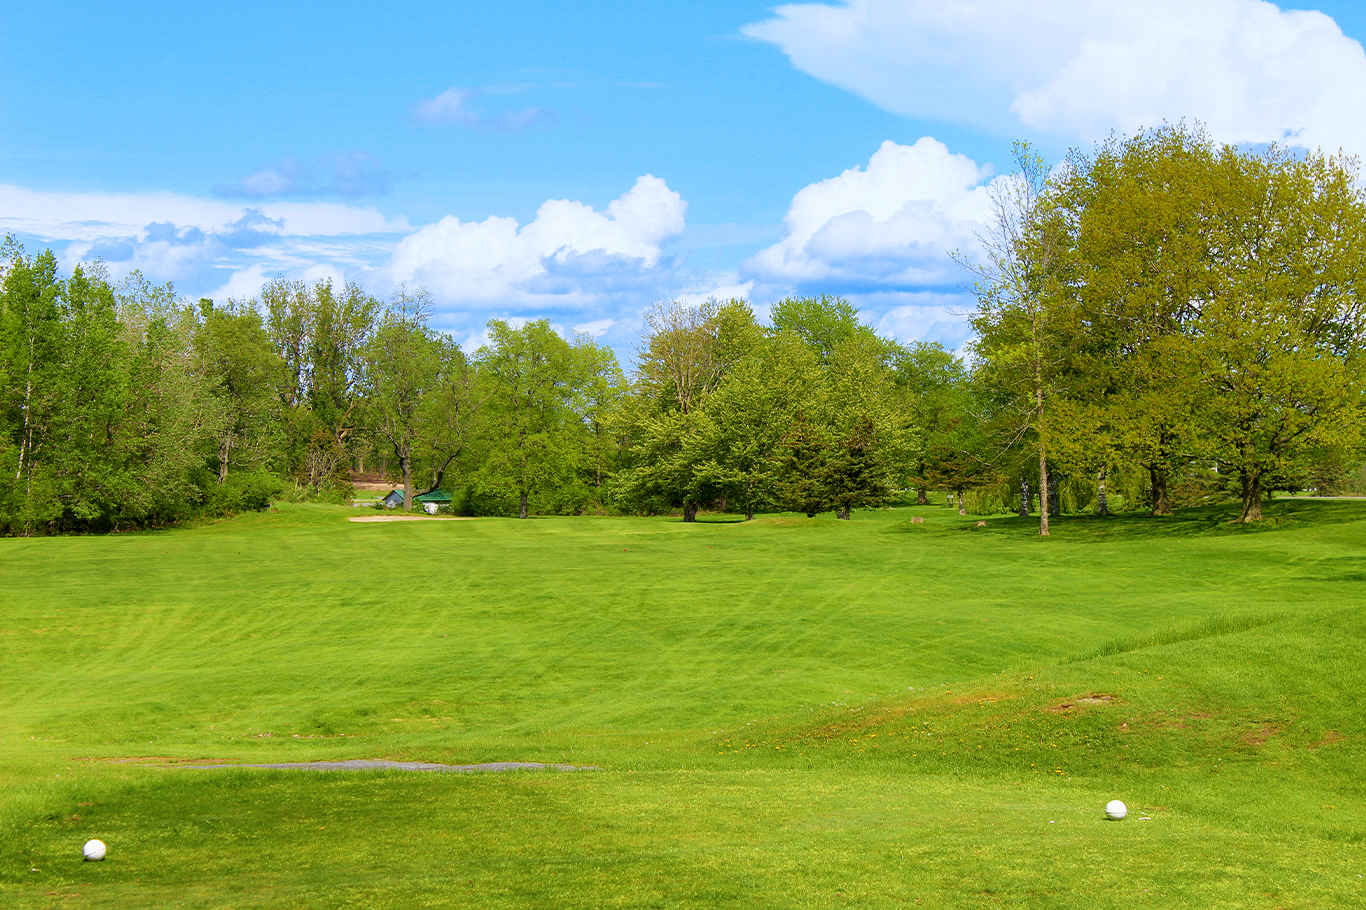
Hole #8
The eigth hole is a straightaway 420 yard par 4 with a wide but rolling fairway. This green also rests in a low spot and is heavily protected by a ridge short and a natural area left of the green. The large green features subtle slopes which grow larger the deeper into the complex one ventures. -
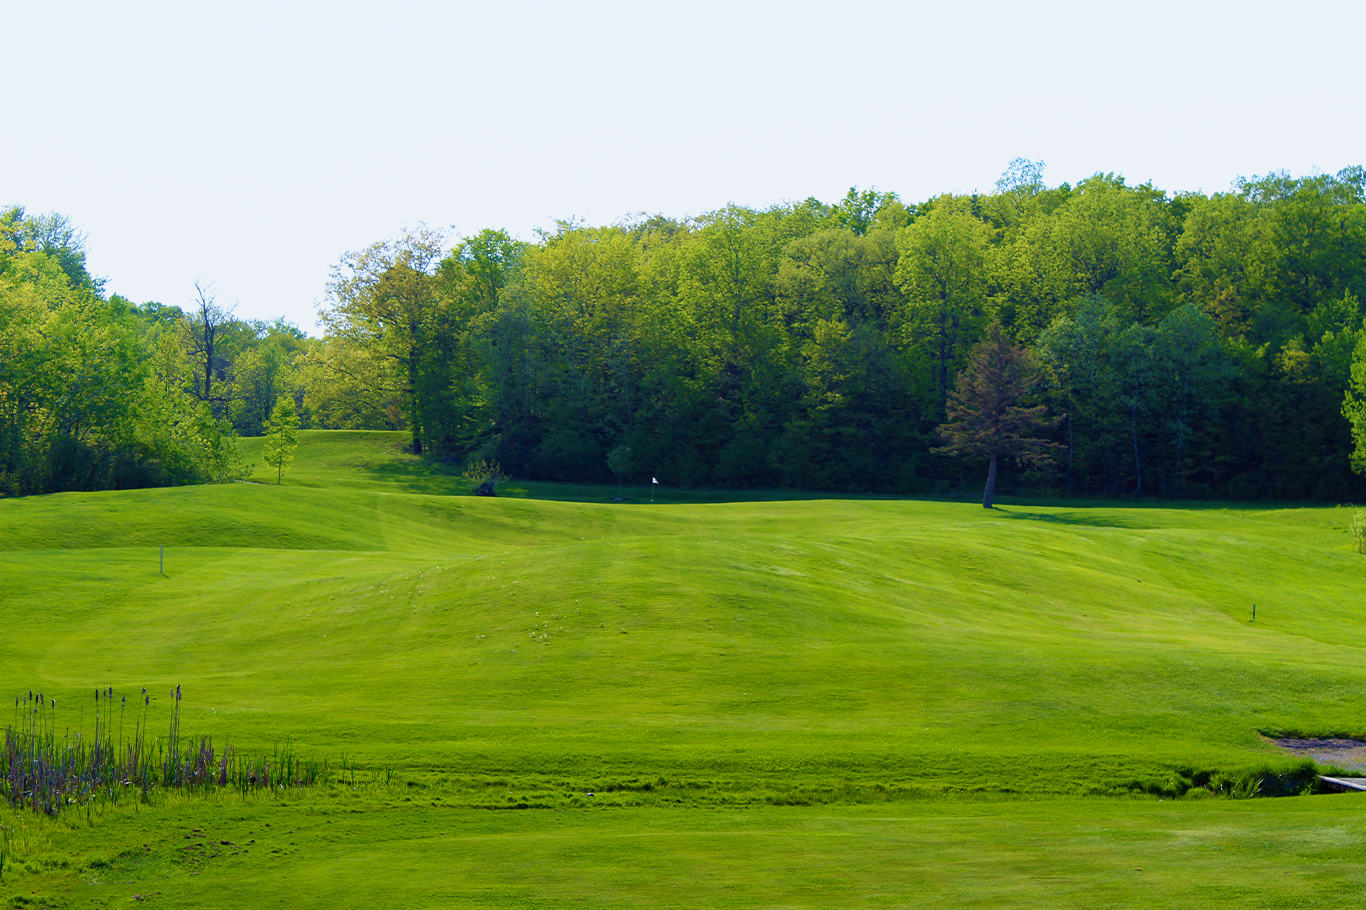
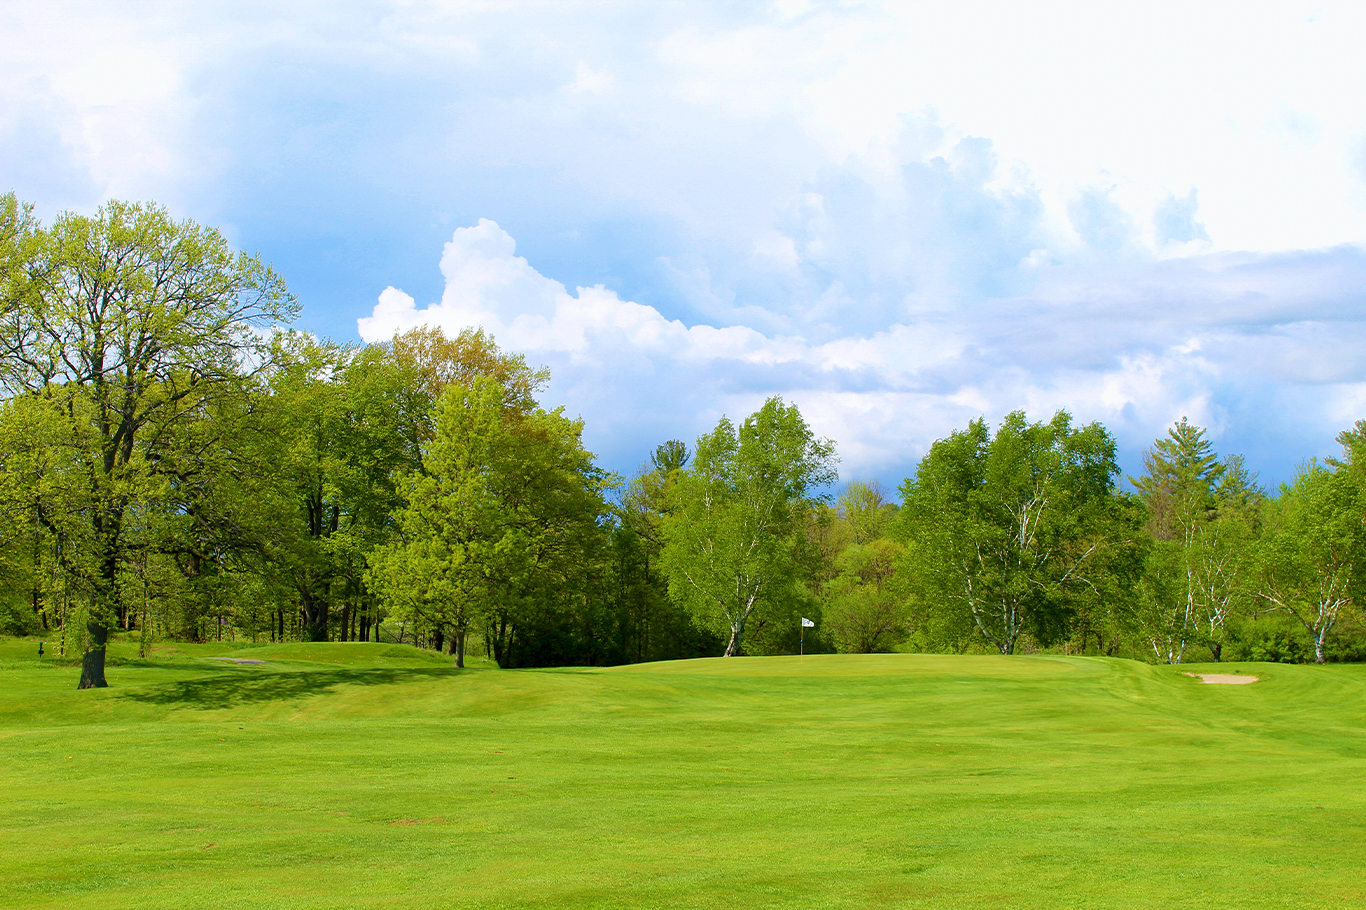
Hole #9
The par 5 ninth hole is one of the most iconic in the track. Its rolling fairway epitomizes the somewhat linksy feel the property holds thanks to the glaciers which carved and shaped Wellesley Island long ago. The left side is protected by trees and two natural areas, while the right is well protected by marsh. Due to the severe slopes and lateral hazard, it often plays as a three shot par 5, leaving a blind uphill wegde approach to a green which slopes away from the player and to the left. Birdies and pars here are well earned too. -
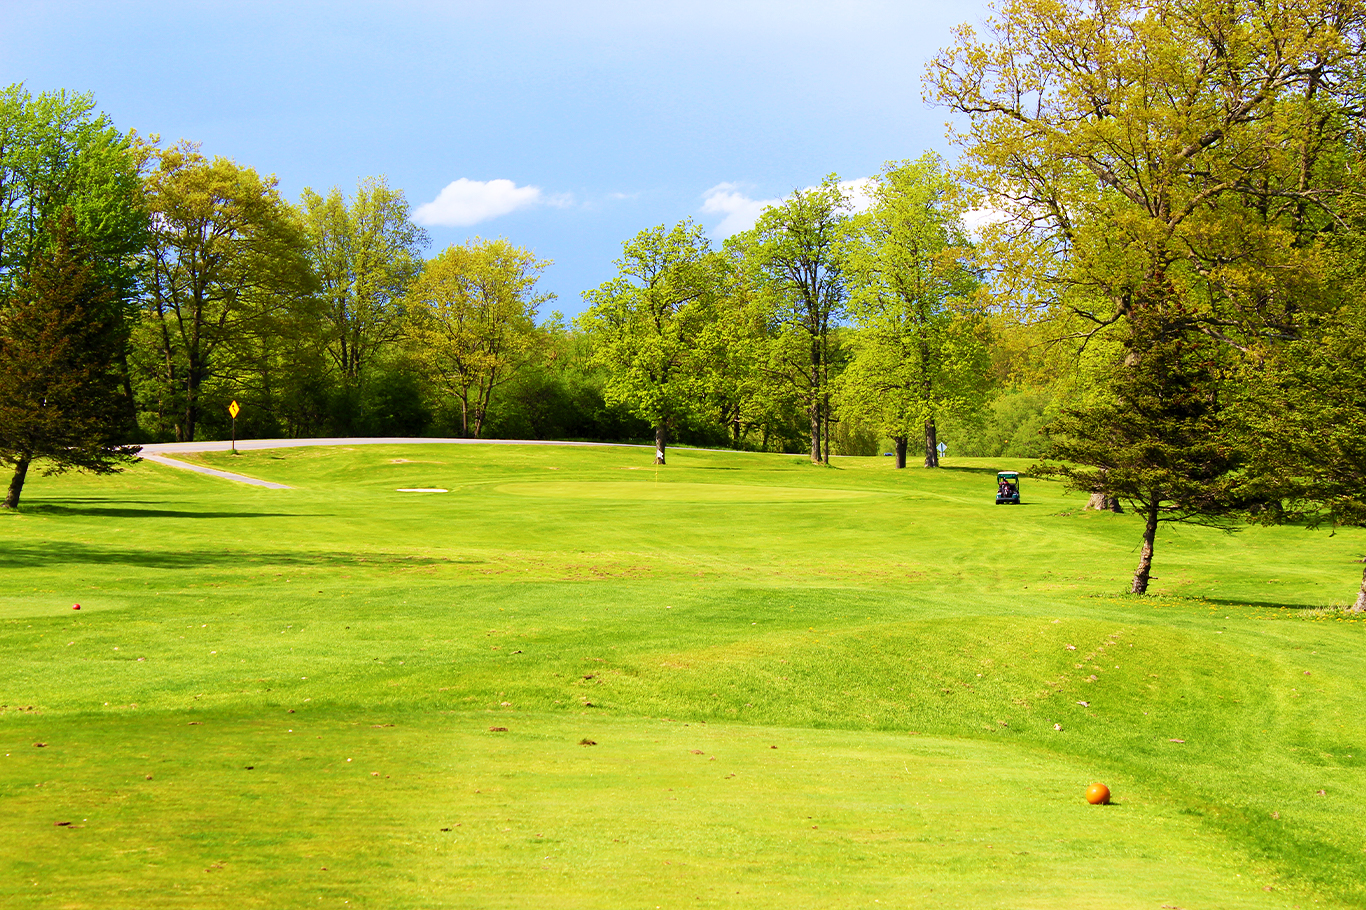
Hole #10
The par 3 tenth measures between 160 and 170 yards. Framed by a stadium of trees and protected by two circular traps on the right, the tenth green is well defended and provides a challenge to begin the back nine. -
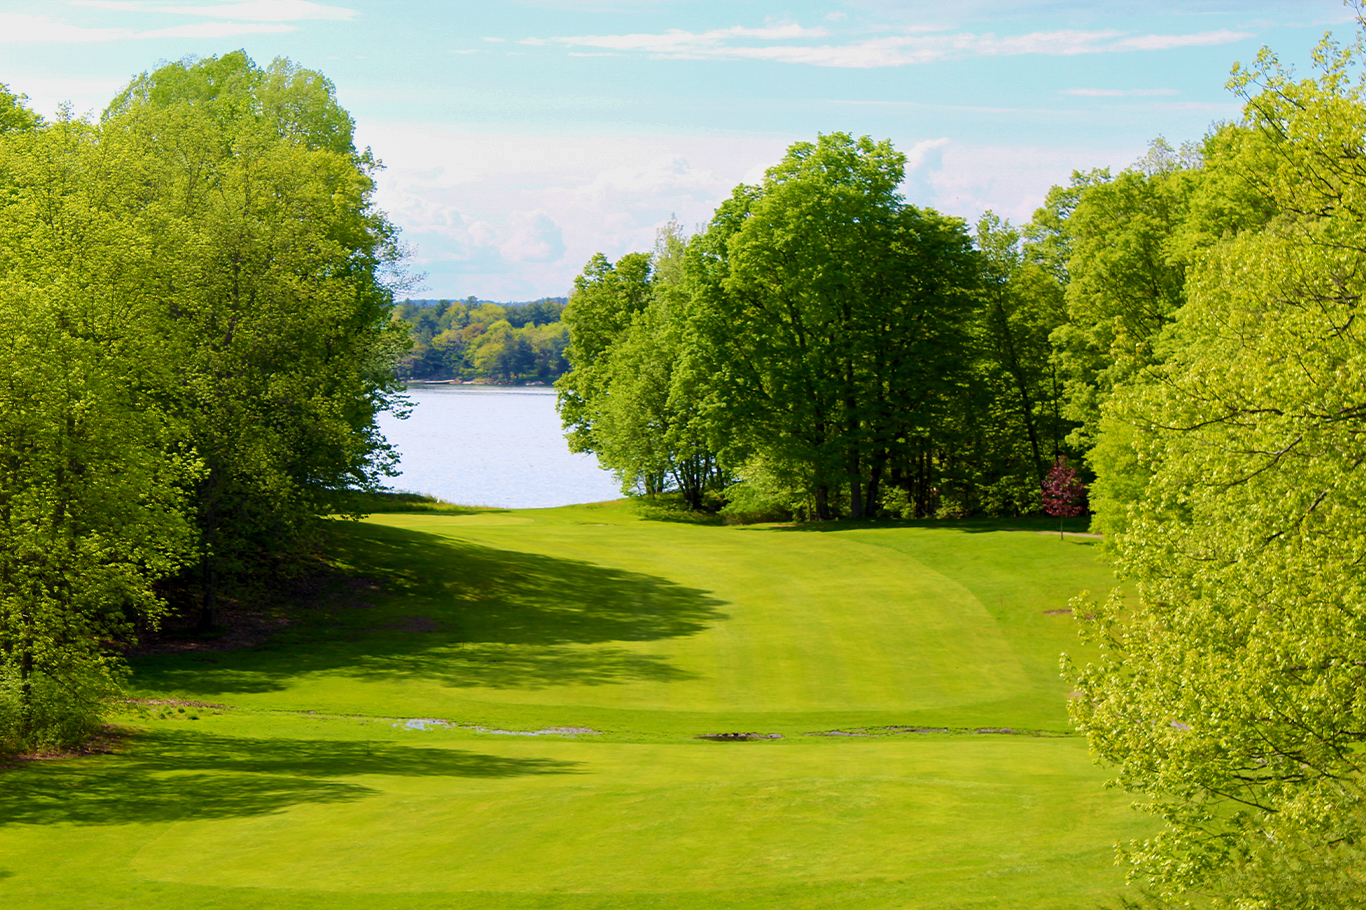
Hole #11
The 11th is a dogleg left par 4 that tees off a cliff overlooking the Lake of the Isles. The undulating fairway is bordered by trees on both sides and rises to present a blind wedge shot for shorter hitters and those who lay back. Long hitters have the potential to reach but will be faced with a narrow landing area and a sand trap guarding the right side of the green. Pay attention to the wind and the Lake to have the best chance for success. -
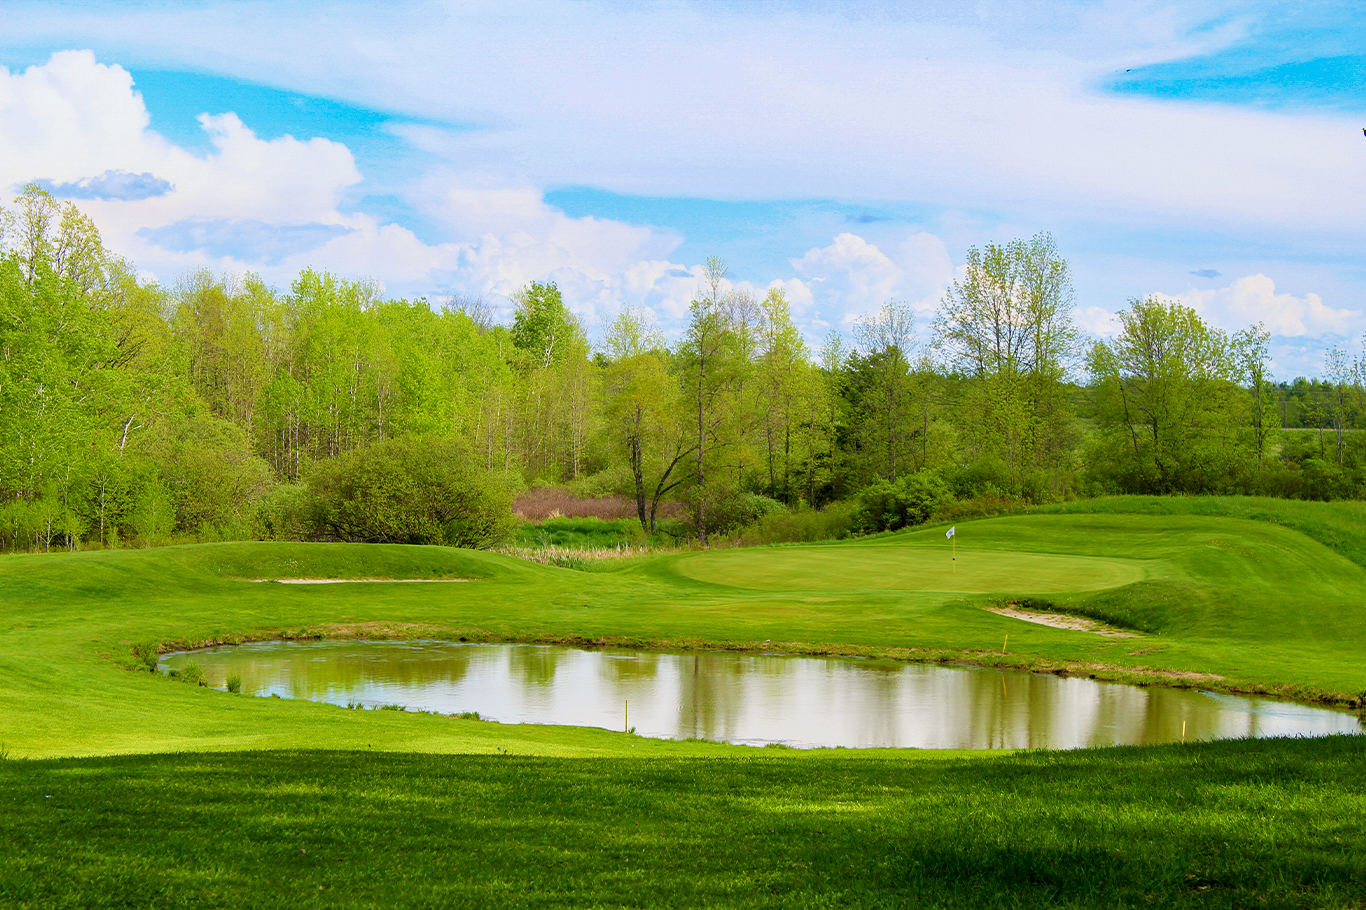
Hole #12
A saddle fairway creates a blind wedge shot over pond to a green which slopes hard from back to front. Longer hitters may be able to reach the pond off the tee (over the second mound). Beware missing long, or be faced with a devilishly quick pitch shot to recover. -
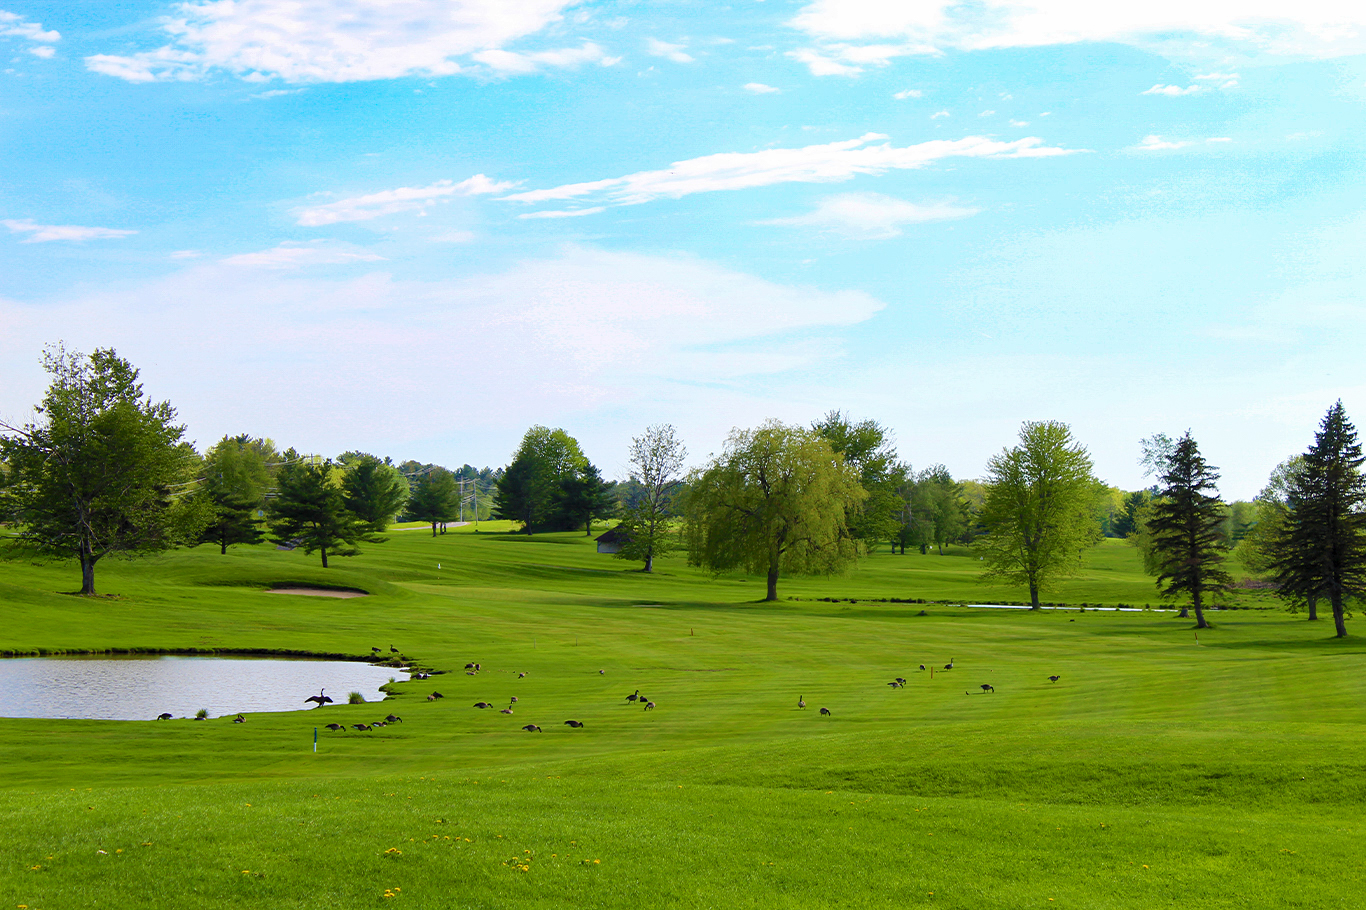
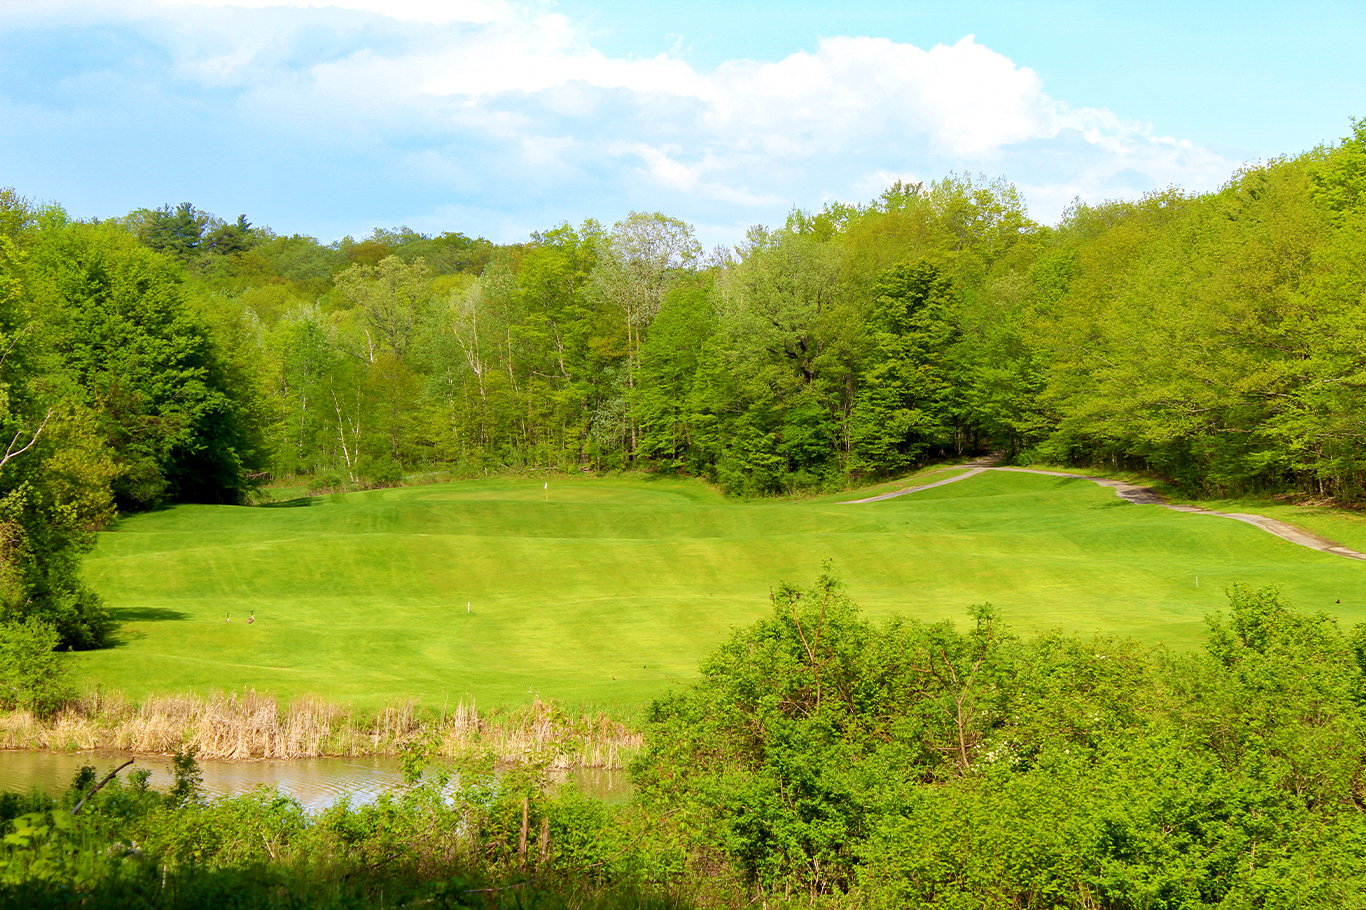
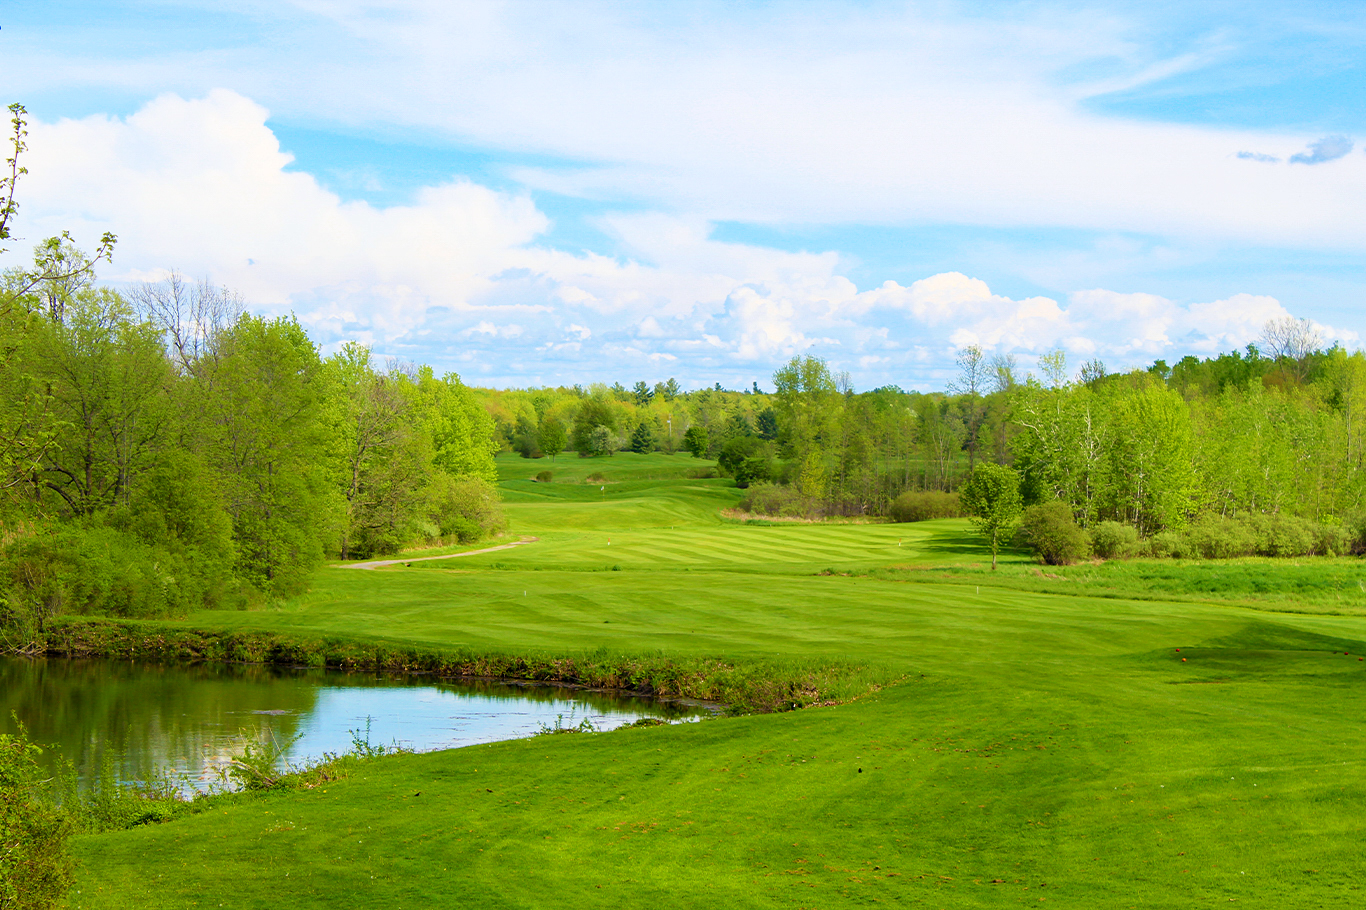
Hole #13
Longer hitters will be able to get the tee shots down into the flat area before the pond, but for most players the second shot will be downhill and over a pond and two traps. The left side of the green features a steep runoff to a natural wetland area. The pond frequently features a few muskrats, so you may have a gallery! -
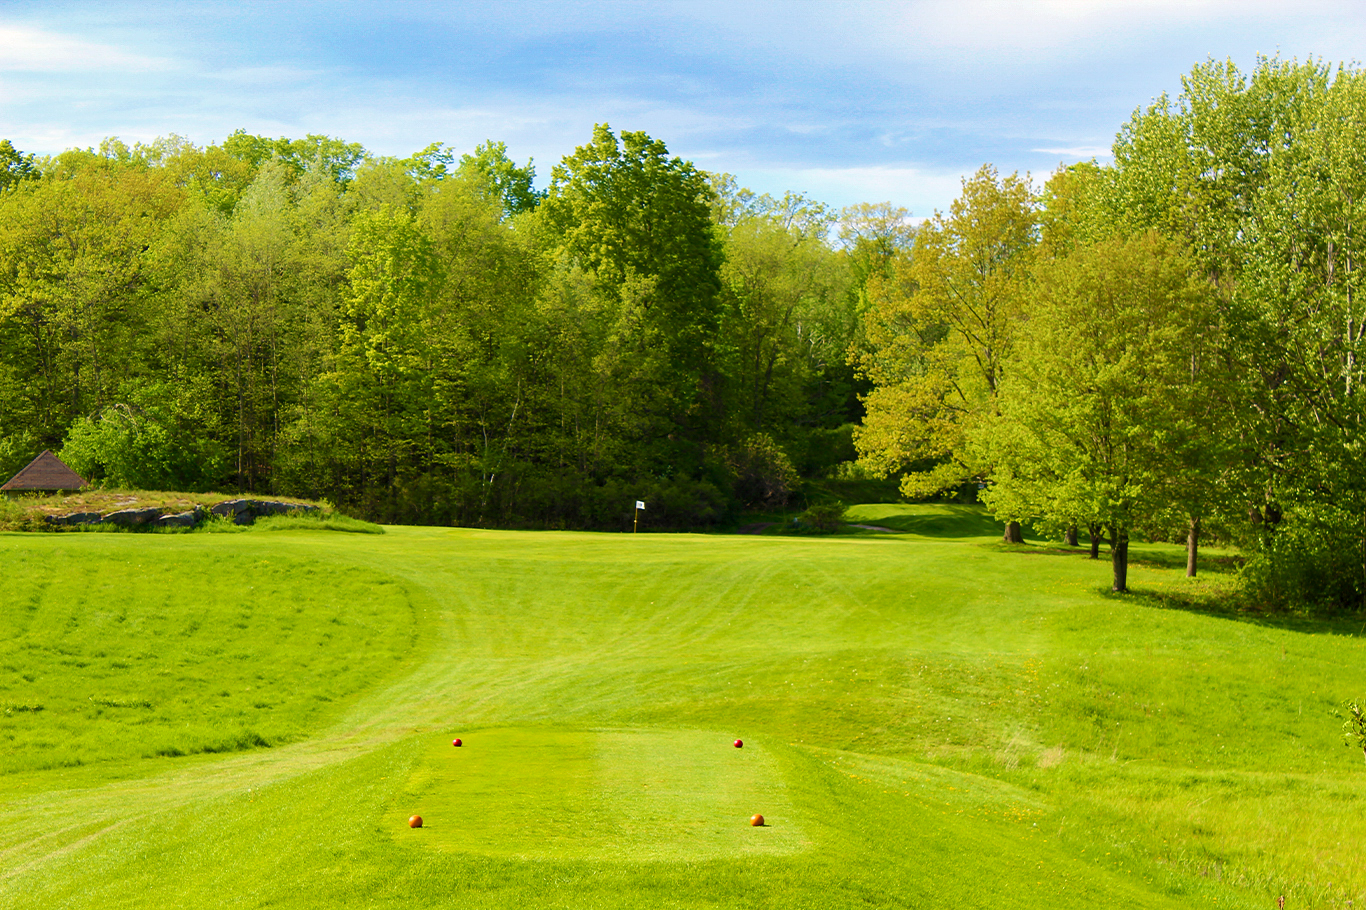
Hole #14
Back up the hill, the par 3 14th hole plays every bit of its yardage, and perhaps a little more. A large green with a subtle ridge awaits all who succesfully avoid the rocks left of the green and trees to the right. -
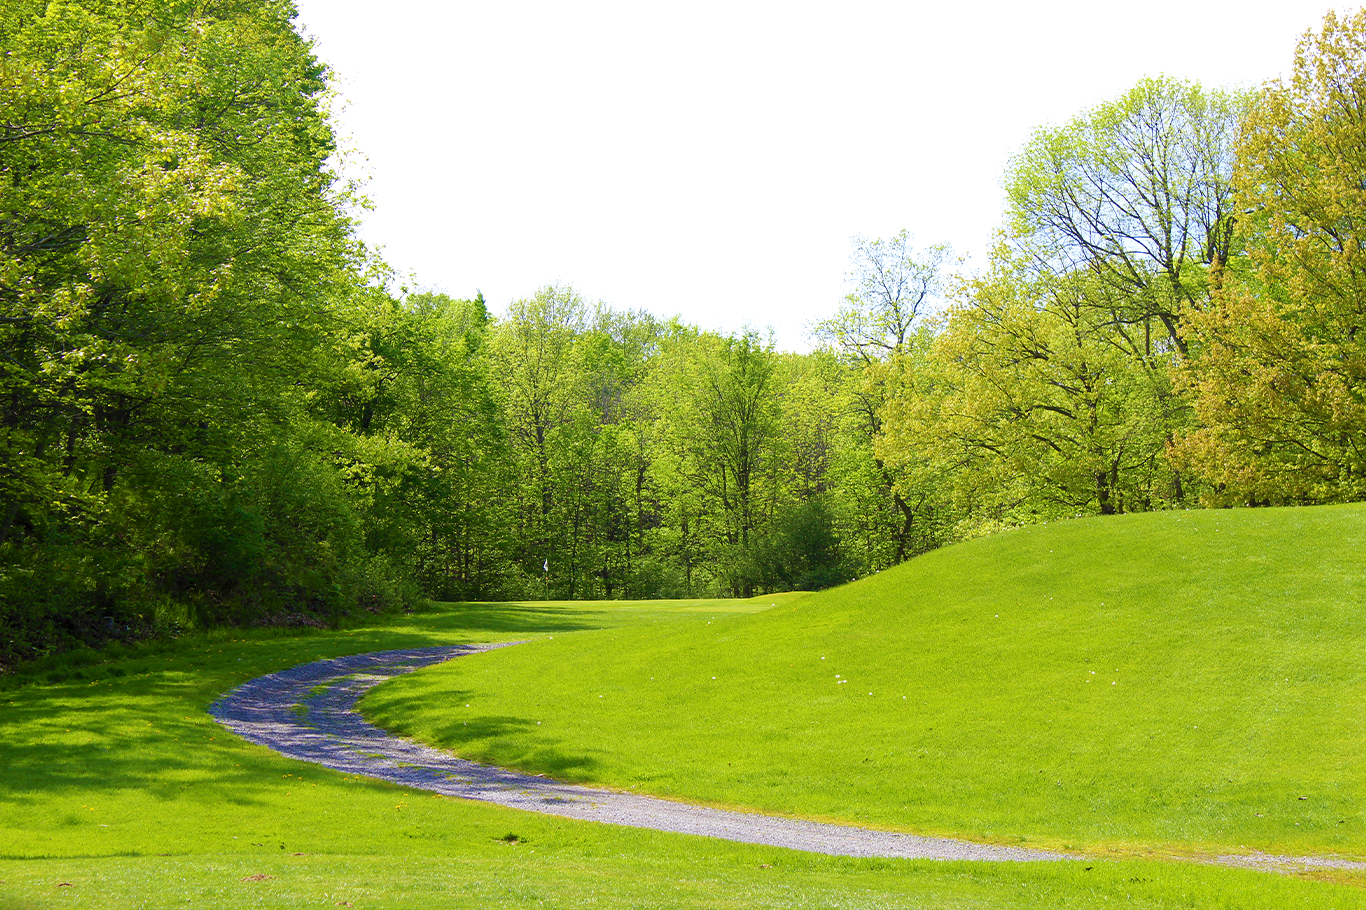
Hole #15
Tee to green perhaps the best designed hole on the Old Course, this long par 4 provides a stiff test on every shot. The fairway bends and narrows to offer a speed slot to those who can find the right center and stay clear of the ditch that lies roughly 275yds from the teeing ground. Woods on the left and a marsh to the right stand guard. The second shot often plays around 200yds in length to an elevated green which slopes front to back. A steep run-off to a natural wetland area guards the right side of the green while overhanging limbs can come into play to the left. The preferred miss is long and left of the green, but laying up short of the hill and trying to earn a 4 the hard way isn't the worst strategy either. -
Hole #16
A short par 3 which plays slightly uphill, the 16th features a classic Seth Raynor punchbowl green. Three ponds lay short of the green but aren't really in play, though they too often feature a gallery of muskrats. Trees guard the back and left of the green while two mounds of earth protect the front. A shelf to the right provides a straightforward pitch shot. -
Hole #17
A downhill par 4 with a winding fairway, the 17th provides a fun test near the end of the round. The right to left slope of the green along with the usual crosswind in the same direction sets up for a slinging second shot, but beware the natural wetland area short and left of the green. -
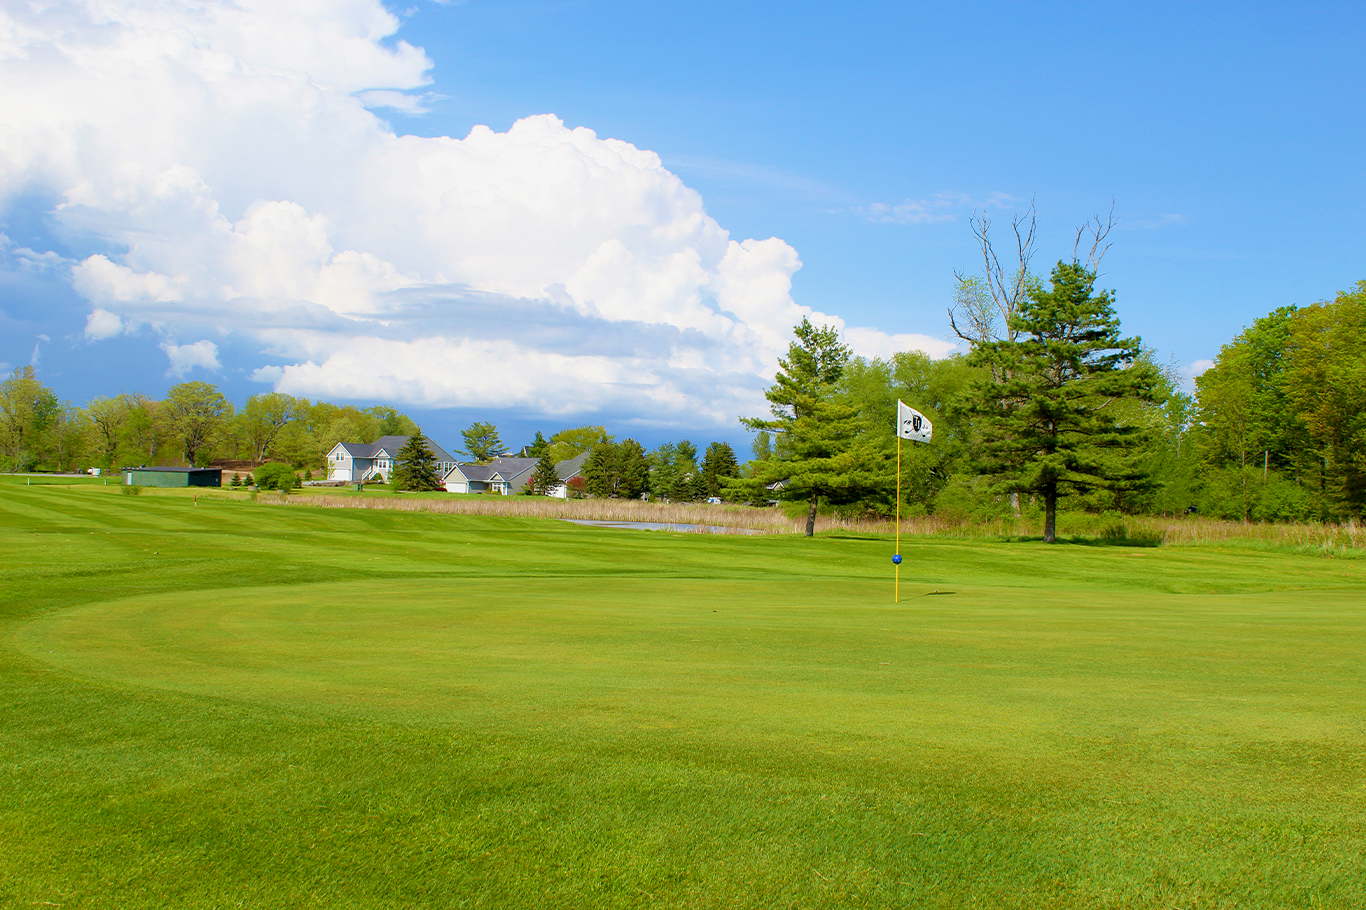
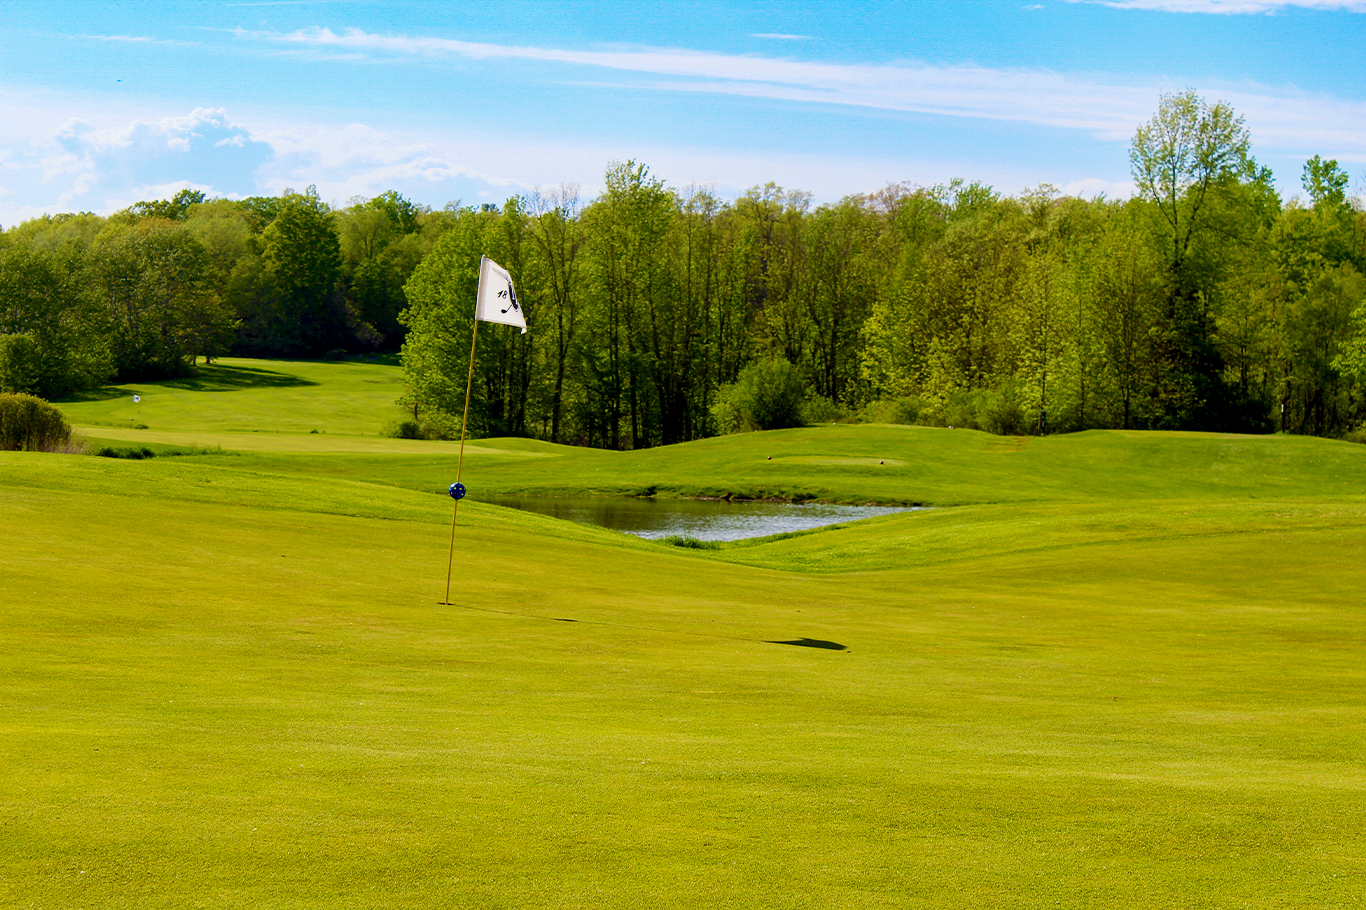
Hole #18
The par 5 closing hole features another undulating fairway with scattered trees down the left and a small bank of bushes in play off the tee on the right. A pond guards the front of a large flat green with subtle break. It usually plays downwind so tee it high and let it fly.